


In Part 1 of our beginner’s guide to splitboarding, we dove in to the gear you need to efficiently travel in the backcountry. In this Part 2, we’ll break down a few tips for how to start your avalanche education and how to stay safe when in avalanche-prone backcountry terrain.
This is numero uno—there’s nothing you can learn from an article or a book that’s as valuable as hands-on training, so, it stands to reason that the single most important thing you can do is to take an Avalanche Safety Class. In AIARE (The American Institute for Avalanche Research and Education) Level 1 Classes, you’ll learn essential avalanche basics, such as:
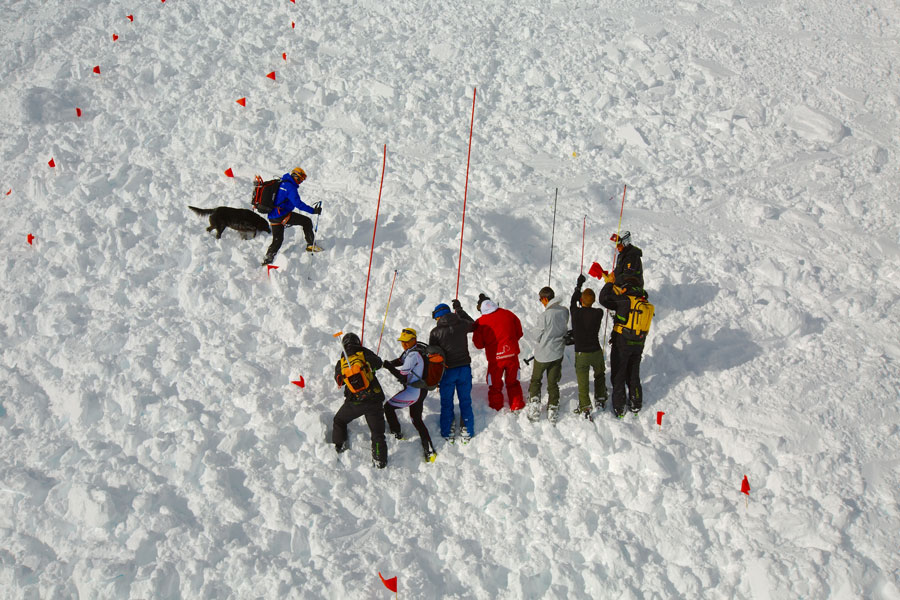
Level 1 classes are geared toward everyone from skiers and riders who have never been in the backcountry to those who have but want to be more responsible for both their own safety and the safety of their partners. Simply put, Level 1 training is the bare minimum that you should possess before stepping into the backcountry.
Over three days, you’ll receive 24 hours of classroom and hands-on learning in the field: going over avalanche slides and analyzing what triggered them, digging snow pits in the backcountry so as to closely scrutinize potential weak layers, learning to identify “red flags” like shooting cracks and woomphs when traveling on suspect slopes.
Essentially, you’ll discuss avalanche safety first in the classroom, and then take those skills into the backcountry where your instructor will further develop your decision-making skills.
If some of this sounds unfamiliar—great. All that means is that you’re ready for a level 1 avalanche course. If you’ve already done a level 1 course and are ready for more avalanche safety education, consider diving deeper into the science of avalanches with a level 2 class.
Need more info? Look at AIARE’s website for a comprehensive course list.
Your best bet for staying safe in the backcountry is by avoiding avalanche terrain altogether. However, if you make decisions that bring you into avalanche terrain, having the proper safety equipment is requisite.
![]()
Backcountry travelers should always wear a beacon. The beacon transmits signals that can be picked up by other beacons, allowing search and rescue to take place quickly and efficiently.
Editor's picks: Backcountry Access Tracker3 or Mammut Pulse Barryvox
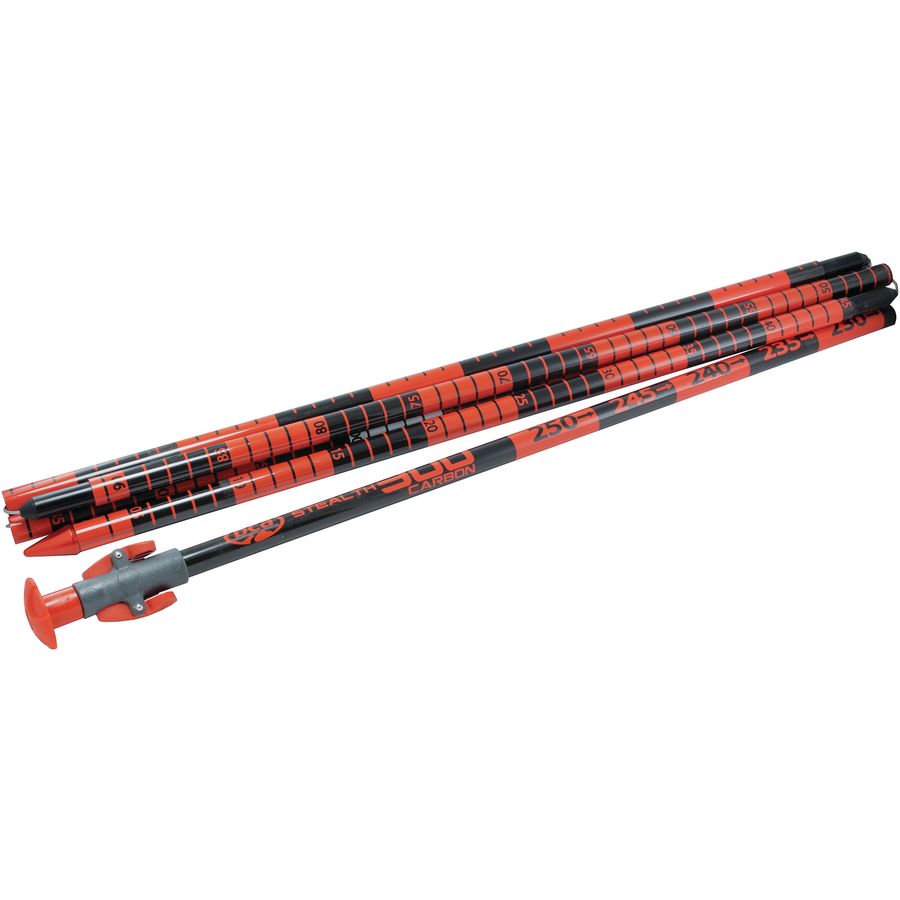
While the beacon handles the first 95% of the search, the search remains incomplete without the use of a probe. You want a quick-to-deploy and tough-to-break probe that dependably cuts through icy layers and concrete crust. Probes are also useful when digging and analyzing snow safety pits.
Editor's pick: Backcountry Access Stealth 300
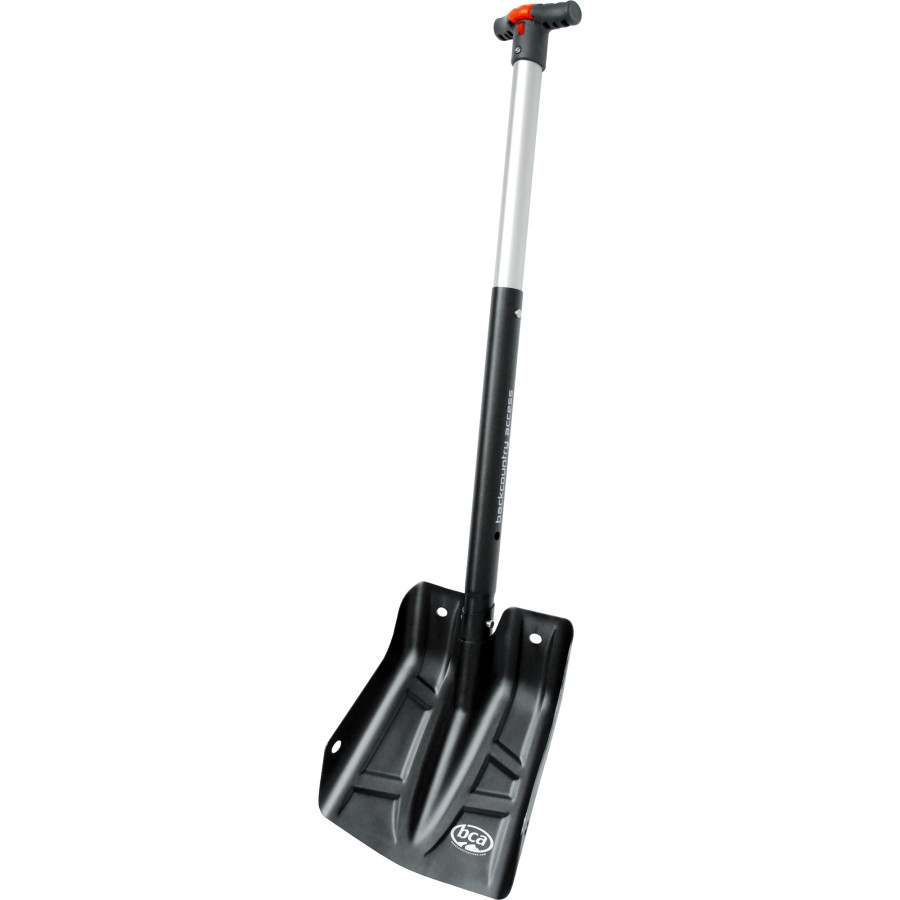
It doesn’t matter if you can find your partner if you’re unable to dig them out. A shovel is a must-have in your avalanche safety kit.
Editor's pick: Backcountry Access A2 Extendable Shovel with Saw
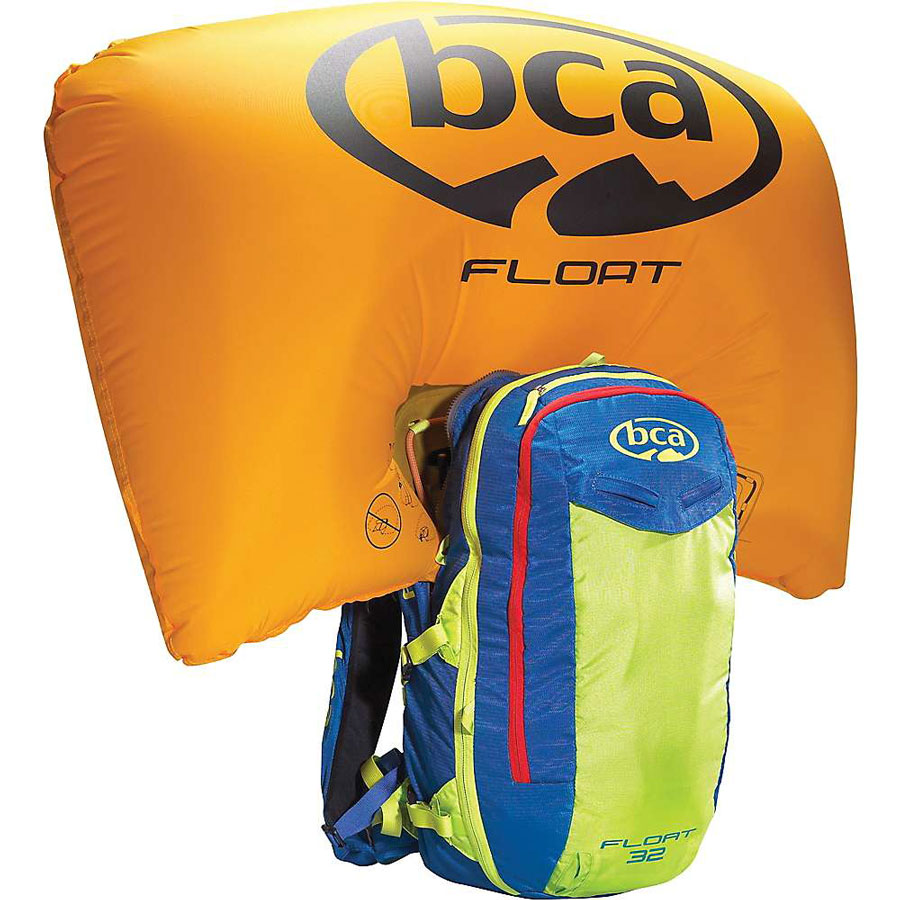
While the previous three pieces of gear are non-negotiable and required for backcountry travel, the airbag is optional. That said—it’s strongly recommended. The beacon, shovel, and probe help you should a victim be buried, but deploying an airbag in the midst of an avalanche actually increases chances of survival and decreases chances of burial.
Editor's picks: Backcountry Access Float 32 and Black Diamond Saga 40 Jetforce
Travel with a Partner
Always travel with a partner. Solo backcountry travel may have a romantic ring to it, but without a partner you’re especially susceptible to risk. Should you be caught in an avalanche, no one is around to rescue you. Also, it’s important to make sure that you have a solid relationship with your partner. Trust is key, as is the ability to discuss decisions and to comfortably voice your concerns.
Tracks Are Not a Green Light
Just because someone rode a slope and it didn’t slide doesn’t mean it’s safe. This is a common misconception, especially among uneducated backcountry travelers. Don’t assume that others made a smart decision, and always be responsible for your own decisions. When in doubt, it’s best to chicken out.
Avoid Suspect Terrain
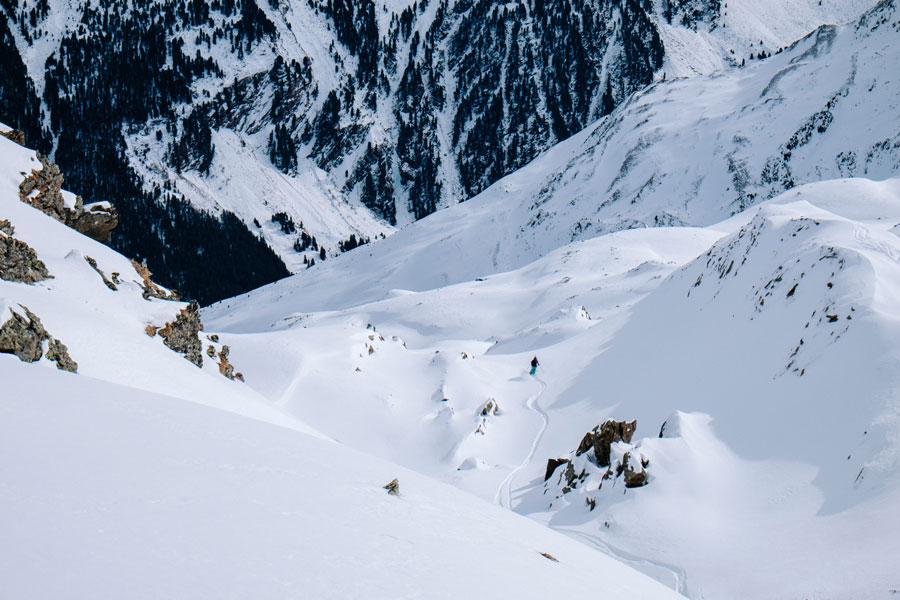
Some types of terrain are more likely to slide than others. Slopes above 30 degrees, convex rolls, overhanging cornices—these terrain features are naturally more dangerous. In your avalanche safety class, you’ll learn how to analyze these features and how best to avoid them.
Read the report
Avalanche forecasters provide professional analysis and discussion that are one of the best tools in your avalanche safety toolbox. Get accustomed to reading the avalanche forecasts in your area—even if you aren’t going out into the backcountry that same day, reading the forecasts consistently will help you gain a better level of understanding for the cumulative snowpack.
Analyze the snowpack
Don't rely solely on the expertise of others. Digging a pit and making observations on your own will facilitate your growth as a backcountry traveler and help bolster your avalanche safety decision-making. That said, learning how to do this is of the utmost importance, and as such, we’ll take this moment to recommend, once again, taking an avalanche safety course.
While we strongly suggest learning more in the form of an avalanche safety course, we also recommend picking up a copy of Bruce Tremper’s Staying Alive in Avalanche Terrain—it’s a bible of backcountry travel and should be read accordingly.
If you take anything away from this guide, we hope it’s that the backcountry is no joke, and developing a toolbox of avalanche safety skills is essential. Getting the gear and getting educated are just the first two steps. Enjoy, and be safe.